3D printing strong objects can be easier said than done. For everyday items, you usually don’t have to worry about this. But for prints that need to take a beating, remain strong when bearing weight, or weather the elements, it can pose an issue.
Here are a few things that are holding your prints back when they need to be at their strongest.
Low infill density
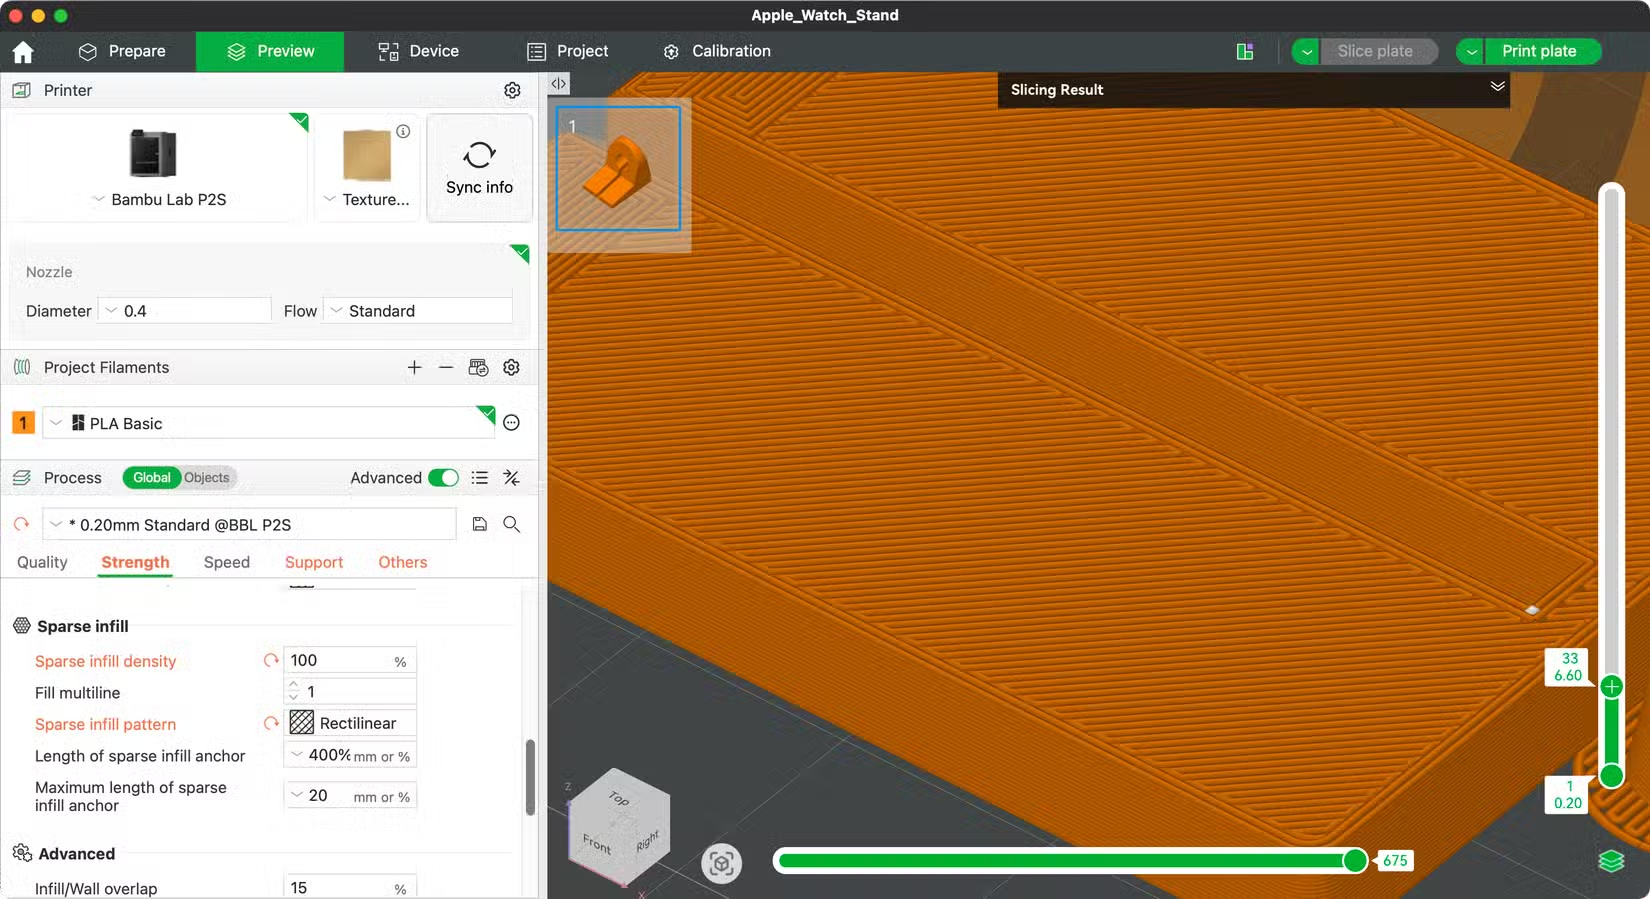
Infill density refers to the percentage of hollow space inside your print that is taken up by filament. 15% is generally regarded as a good starting point to minimize filament usage and provide passable rigidity in models that don’t need to take a lot of weight, impact, or other forces.
Setting this value at 100% would result in a completely solid model, and there are times when you might want to do so. It’s an expensive way to print, but if you’re looking for certain properties and are happy to sacrifice the filament, go for it.
Otherwise, simply increasing this number to 30% or 50% will result in a more durable part. Conversely, if you’re prototyping a print and want to save filament on your early test models, drop this to 2% to test the fit.
Use of inferior infill patterns
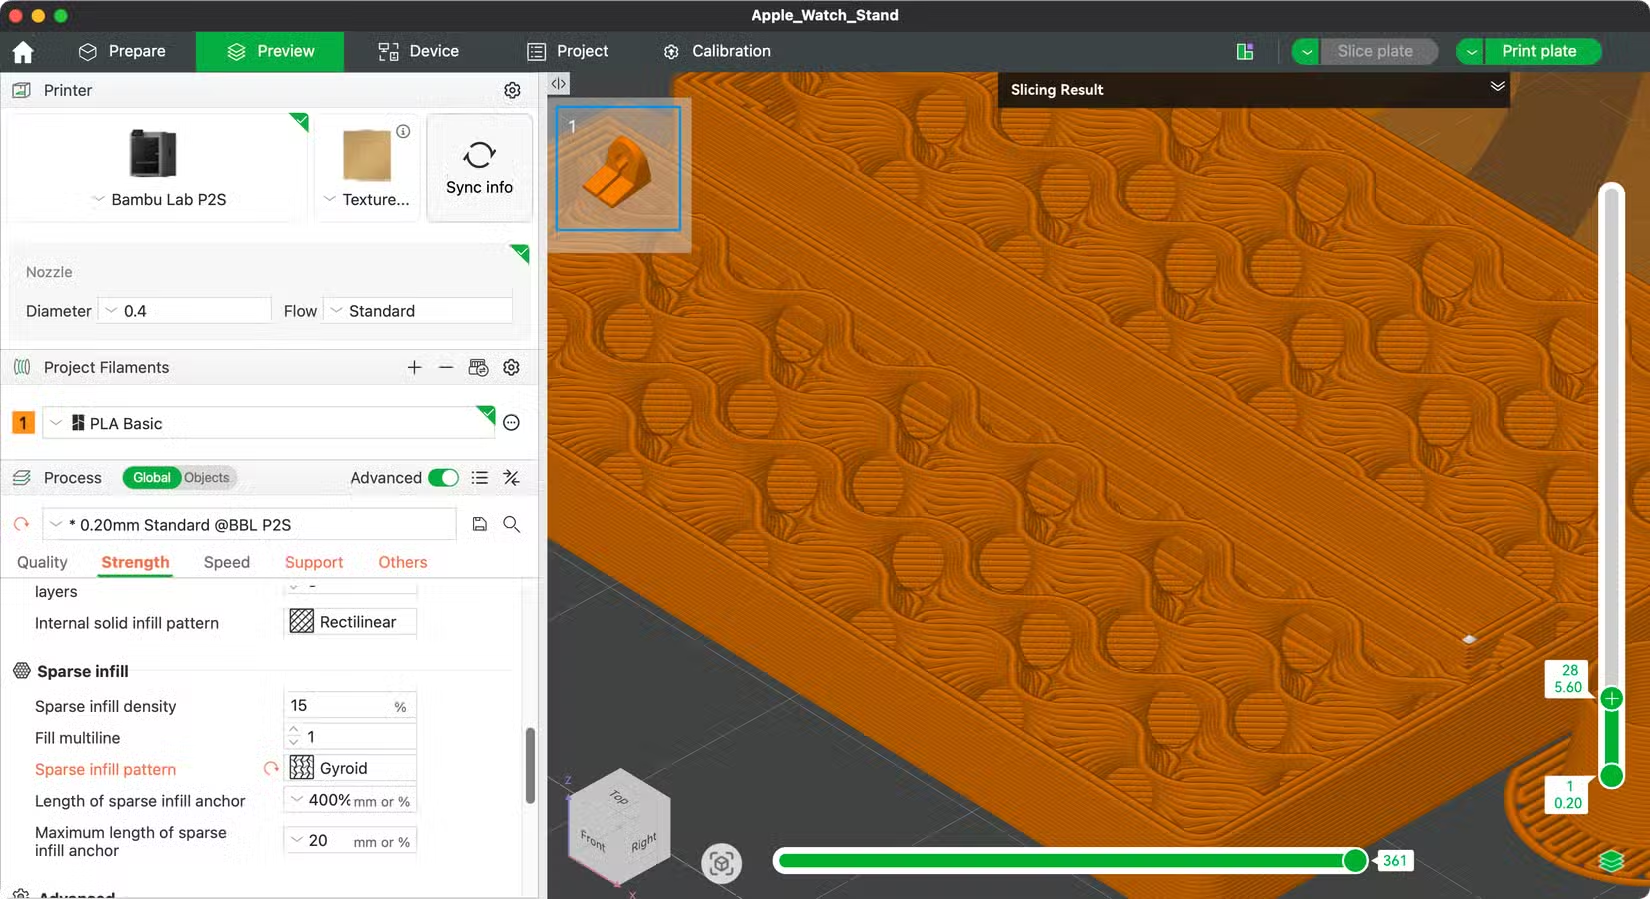
While you’re considering infill density, you might also want to think about the infill pattern. This dictates how the filament inside your prints is distributed. Many slicers default to predictable patterns like grid, but there are better options.
For example, All3DP performed detailed testing and concluded that cubic and gyroid patterns are superior for both tensile (bending or stretching) and compression (weight-bearing) strength. Triangles also performed well as a good all-rounder, while concentric patterns performed especially well along the Z-axis (great for models that print tall).
Not enough wall loops
Wall loops decide the perimeter strength of your print. It’s the number of passes your 3D printer makes to the outer edge of a model, with two loops being a common choice for models that don’t need to be particularly strong. Keeping this setting low can save filament, but in some ways, this number can be more important than infill density for print strength.
This is particularly true for models that are designed to take impact, since the wall is weakest between the points at which the infill pattern makes contact. For greater strength, consider upping this to four wall loops. Alternatively, go eight or more for maximum strength, but be mindful of how this will affect your print (smaller objects will naturally have tighter limitations).
Increasing wall loops can also improve weather or water tightness and help remedy the unwanted effect of being able to see the infill pattern on the edge of an item when only one or two wall loops are used.
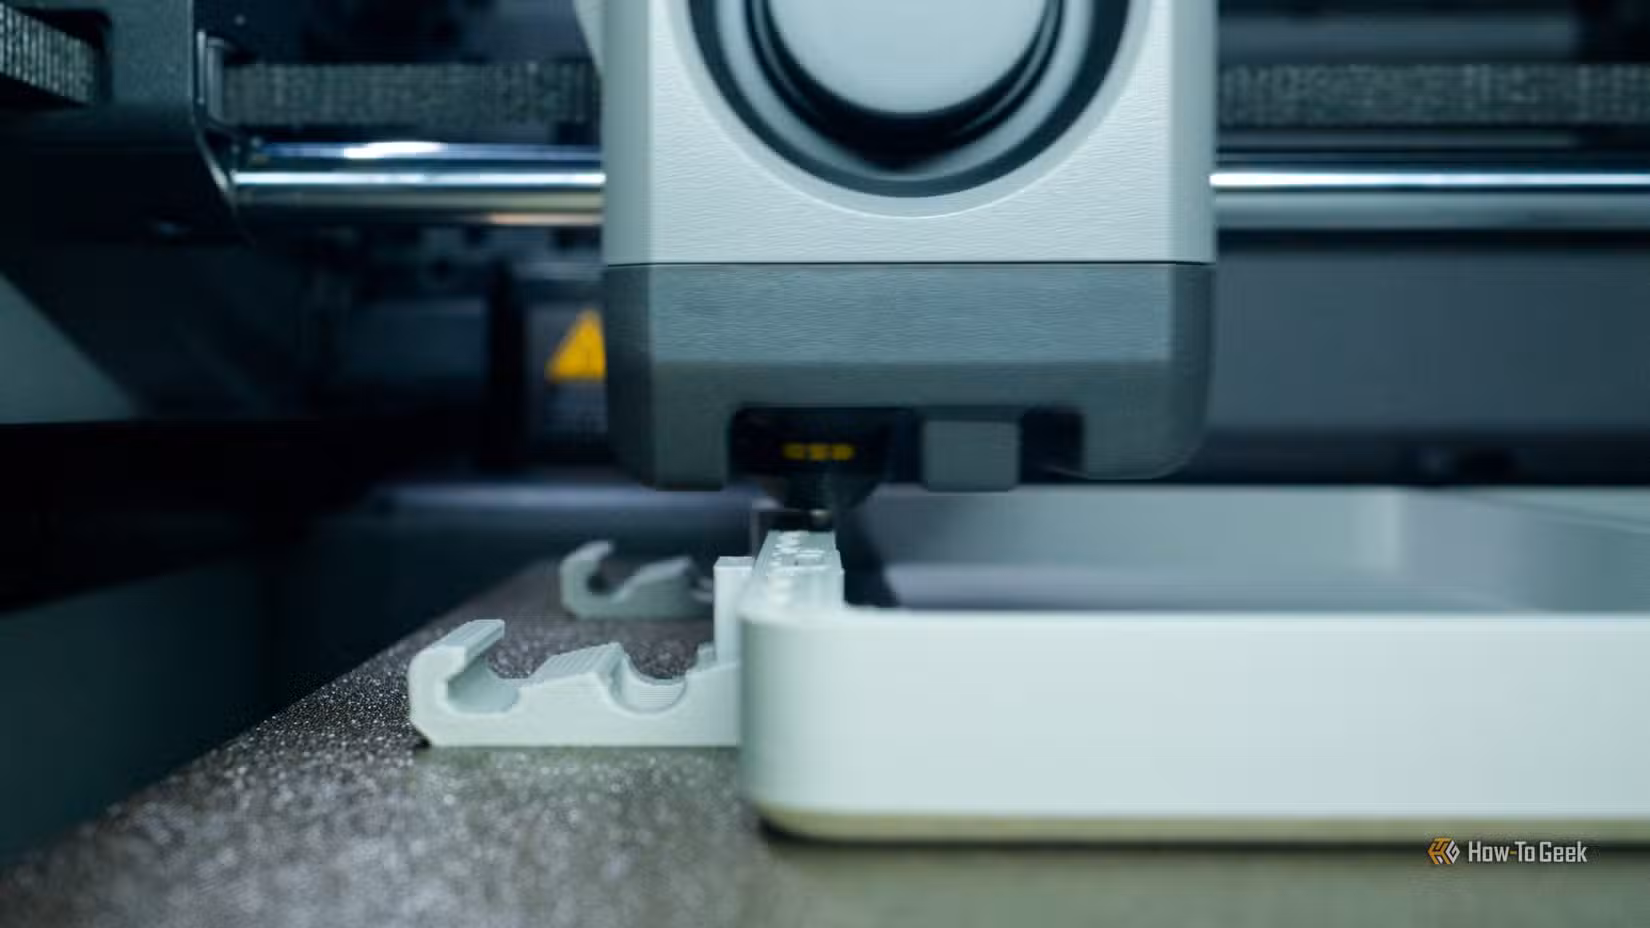
Printing with the wrong filament
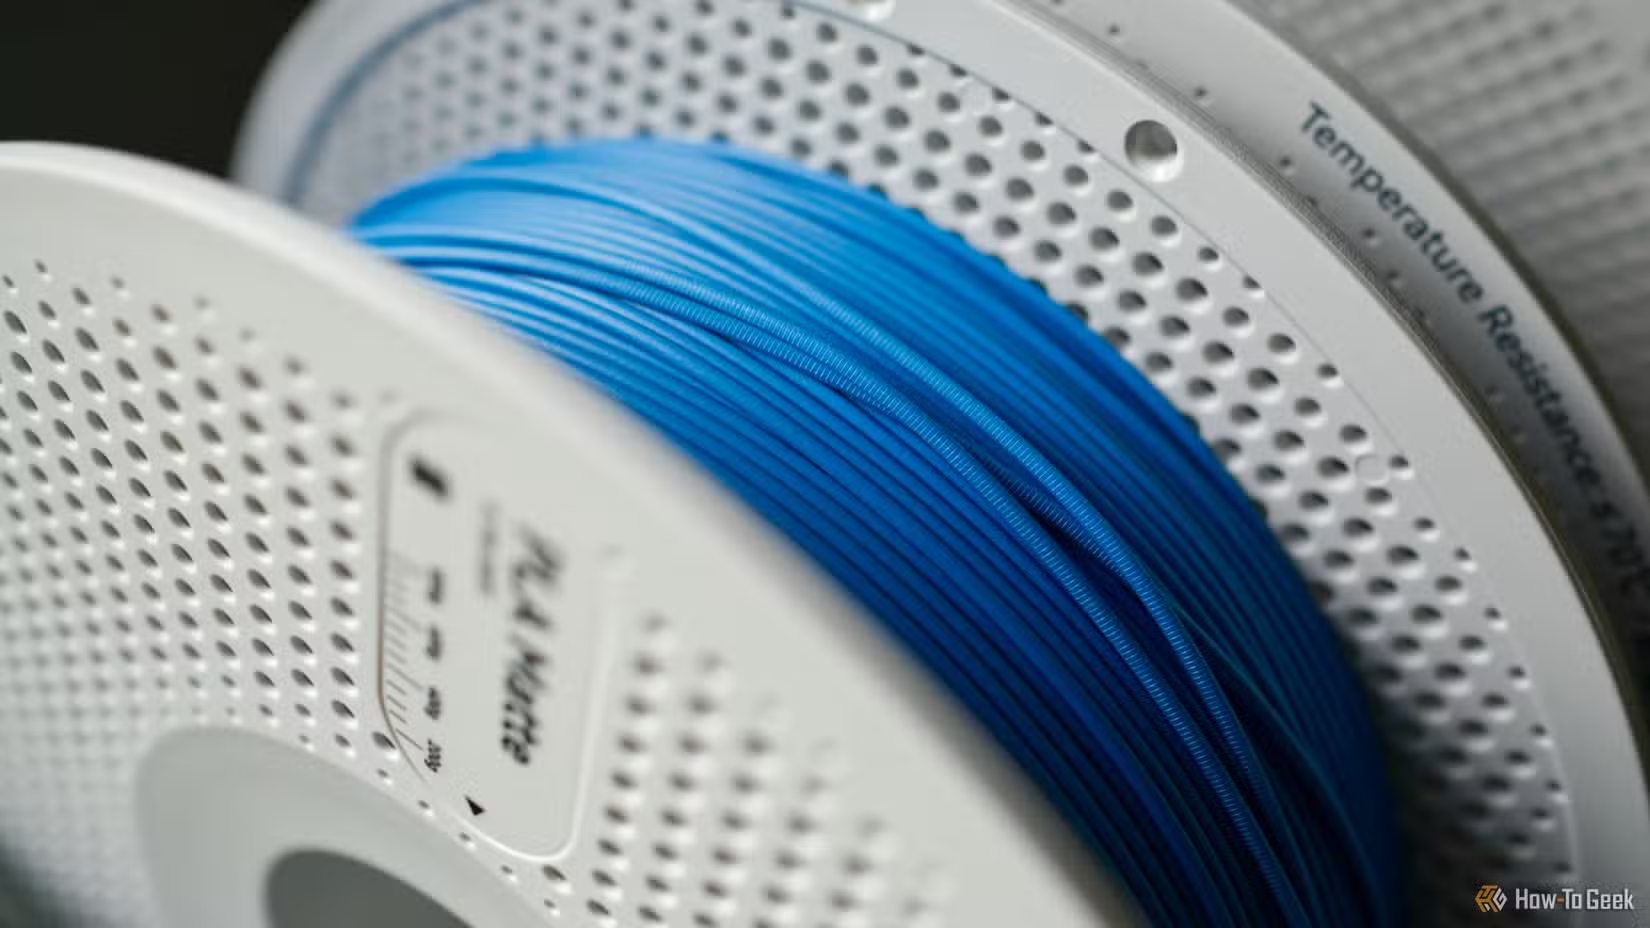
Tim Brookes / How-To Geek
PLA is the do-it-all filament for most 3D printer owners. It’s cheap, relatively non-toxic, easy to work with, and comes in a huge variety of finishes, colors, blends, and brands. It’s easy to dry out at a relatively low heat, basic varieties don’t require a hardened steel nozzle, and it’s less prone to warping and shrinking than other filaments.
But PLA isn’t the strongest filament out there. It can be brittle, easily bend along the layer lines, and holds up poorly when exposed to moisture and UV light. If strength is your primary concern, you’ll want to use another filament or a PLA blend.
PETG is the next obvious step up, with PLA+ (also known as PLA tough) also offering improved strength. ABS or ASA is stronger still, but prone to warping in printers that don’t have a heated chamber (and the same goes for Nylon). You can also choose filaments reinforced with carbon fiber, or print with polycarbonate (PC) if your printer can reach the required nozzle temperature of around 300ºC.
Some of these filaments are very expensive and have specific properties, so make sure you match your desired qualities (like UV resistance or overall stiffness) with the filament before you buy.
Using “wet” filament
3D printing filament is hygroscopic; it absorbs moisture out of the air. This can lead to brittle filament, which in turn can result in weaker prints. Even printing with so-called “wet” filament can be a challenge, since the water inside the filament can turn to steam at the nozzle and cause stringing, adhesion issues, bubbling, and inconsistent surfaces.
To avoid issues, make sure that you dry your filament properly in a filament dryer before you print with it.
Temperature difference in the printing environment
Some filament types are more prone to warping and cracking than others, and this is usually due to the difference in temperature between the nozzle, heated bed, and the ambient environment. Cooling parts down too quickly can cause them to warp and crack, whereas a slower, controlled cooling process mitigates this. This can result in improved print quality, better layer adhesion, and stronger prints.
To improve prints, use a printer with a chamber heater, pre-heat the bed in your enclosed printer for a while before printing (to trap warm air), or add a chamber heater to your enclosed printer with an aftermarket upgrade. Alternatively, avoid materials like ABS, ASA, and Nylon.
Other ways to ensure stronger prints
Orienting your prints correctly on the print bed can make a huge difference to a part’s overall strength, since prints are weakest at the points where the layers intersect.
Alternatively, you can try annealing your 3D prints in an oven if you’re happy to live with dimensional changes.
Source: Read Full Article