Getting into 3D printing is a lot easier than it used to be, you can now literally print stuff directly from an app on your phone. That’s great for the early stages, but you’re missing out if you don’t design your own models. In fact, it’s my favorite part.
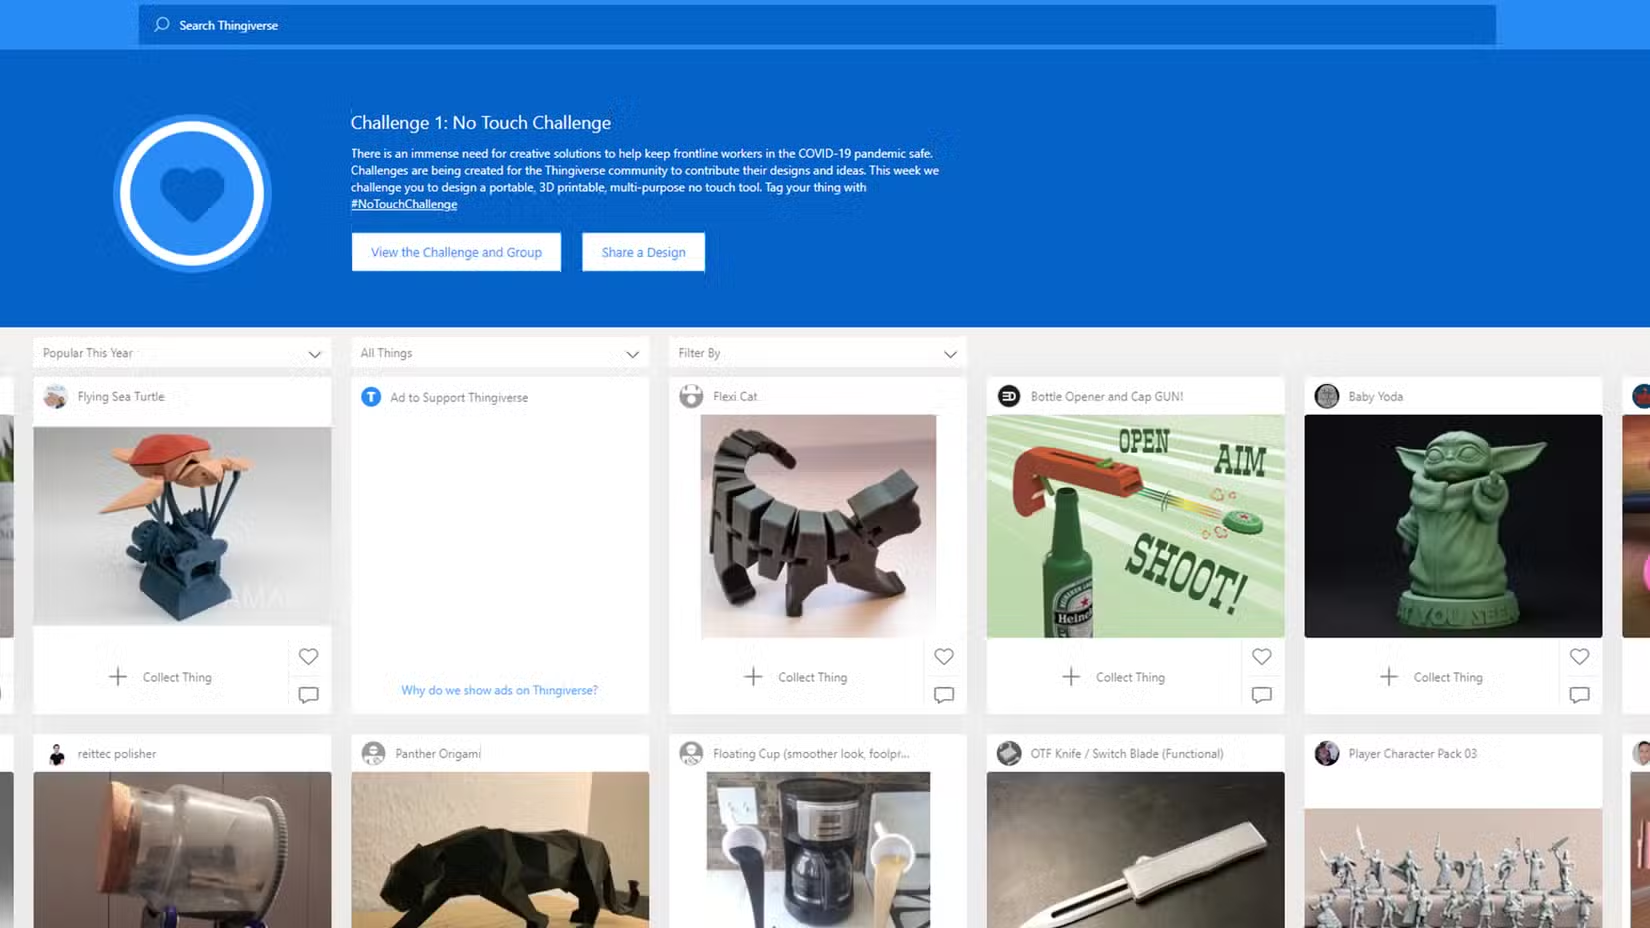
The ability to simply print things that other people have created is one of the best parts of owning a 3D printer. Thingiverse, Printables, and MakerWorld are excellent resources for people of all skill levels. However, taking the time to learn how to design your own 3D models is extremely rewarding. Let me tell you why.
You don’t have to learn everything right away
I was intimidated at first, but you don’t have to be
Like most people, I got started by 3D printing things that already existed. A hands-free dispenser for my Brita tank, fan mounts for an IKEA Milsbo greenhouse, a travel keyboard cover, etc. But I always knew that designing my own items was the primary reason why I bought a 3D printer, and the ideas quickly started piling up.
Fusion 360—now just called “Fusion”—was the modeling program I had heard almost everyone talk about. It’s free for personal use, and Autodesk is a brand I was already familiar with from my days of high school drafting class. None of that made it look any less daunting when I opened the app for the first time.
Now, I’ve never taken a formal class to learn any of the desktop apps that I use almost every day. I taught myself how to use Inkscape, GIMP, Sony’s video editing software, and more. I have nearly 20 years of experience with some of these apps, but the thing I’ve realized is that the learning never stops.
In the beginning, that would have been a deterrent to me. Learning how to use something that I’ll never stop learning how to use doesn’t sound fun. That’s the wrong way to look at it, though—it actually makes it much easier to get started. You don’t have to know it all upfront.
The trick is to learn as you go. Start with something simple and keep a search engine tab open on the side. I can’t tell you how many times I’ve looked up “how to do [blank] in Fusion” over the last few years. There are tons of official guides, forum posts, and how-to videos to help you along the way. Over time, the knowledge accumulates, and you don’t need to ask for help as much.
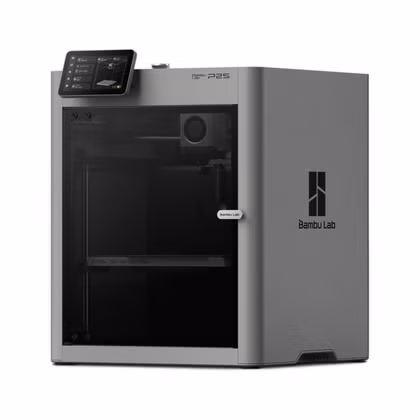
- Build Volume
-
256x256x256mm
- Printing Speed
-
600mm/s
The Bambu Labs P2S 3D printer is ready to go out of the box and can have you printing within 15 minutes. It features up to 20-color printing with the AMS unit, has an upgraded built-in camera for remote monitoring and time lapses, and has an enclosed body for printing even high-temperature filament.
Modeling has become my favorite part
There’s so much possibility in the digital world
I have to admit that 3D printing is not my first venture into the “maker” world. I’m also a hobbyist woodworker and graphic designer—making things is in my DNA. However, 3D printing unlocked a level of creation that I could never achieve before.
My first 3D models were simple. A support for the clothes hanger rod in my closet, a drain dish to go under a planter, and an alignment bracket for a coffee filter cone. With each print, I got more confident in my modeling and learned about how digital designs translate to the real world.
One of my most recent projects was a 15-inch-tall table-top lamp version of the classic mid-century modern Malm Lancer fireplace. I’d never made something that big with my 3D printer, and I’d never incorporated electrical components into a design either. It was a fun challenge to tackle.
I found the dimensions of the fireplace online and used them to create a 3D model that would fit around some lamp components. I played around and tweaked the model for weeks, printing small-scale prototypes every so often. It took a few tries to get the bulb base to fit just right in the model.
The next challenge was figuring out how to print the fireplace in pieces and assemble it. When it was time to actually print the darn thing, I was feeling hesitant. It was going to take several days of printing, then many more hours of removing supports, assembling, and sanding. Modeling was the fun part, bringing it to life was the hard part—but I did it.
This is something that no one else has in their home. It’s a completely unique, one-of-a-kind item that can’t be purchased from a store. To see an idea go from my brain to a computer screen and then materialize as a physical object in the real world is such a cool feeling.
For me, modeling was the most enjoyable part of the process. The same can be said for my vintage smart display project. There’s just something exciting about the process of measuring, drawing, extruding, drawing again, cutting, and shaping until you’ve created something that didn’t exist before. If you’ve never tried it, I really think you should.
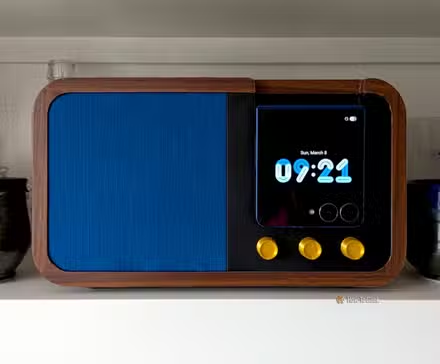
I 3D printed my own smart display because Google’s wasn’t good enough
When the product you want doesn’t exist, make it yourself.
Source: Read Full Article